The Art of Crafting Crystal Moon Art

Have you ever been mesmerised by the gentle glow of a crystal moon piece? I know I have. There’s something magical about these handcrafted treasures that draws you in. Today, I want to take you on a journey through the art of crafting crystal moon art. It’s a world where creativity meets precision, and every piece tells a story.
Discovering the Magic of Crafting Crystal Moon Art
When I first started exploring this craft, I was amazed at how much care goes into each creation. Crafting crystal moon art is not just about shaping resin or crystals; it’s about capturing a moment, a feeling, or a dream. The process is delicate and requires patience, but the results are breathtaking.
The first step is choosing the right materials. High-quality resin, carefully selected crystals, and sometimes even natural elements like dried flowers or metallic flakes come together to create a unique piece. Each material adds its own charm and character.
Next comes the design phase. I like to sketch out ideas or gather inspiration from nature and the night sky. The moon, with its phases and mystery, is a perfect muse. Whether it’s a crescent, full moon, or a more abstract shape, the design sets the tone for the entire piece.

The Crafting Process: Step by Step
Let me walk you through the crafting process. It’s a blend of art and science, and every step matters.
Preparing the Mold
The mould is the foundation. I use silicone moulds shaped like moons or celestial bodies. Before pouring resin, I make sure the mould is clean and sometimes apply a release agent to ensure the piece comes out perfectly.
Mixing the Resin
Resin comes in two parts - the resin itself and the hardener. Mixing them in the right ratio is crucial. I always measure carefully and stir slowly to avoid bubbles. This step requires precision but also a bit of patience.
Adding Colour and Elements
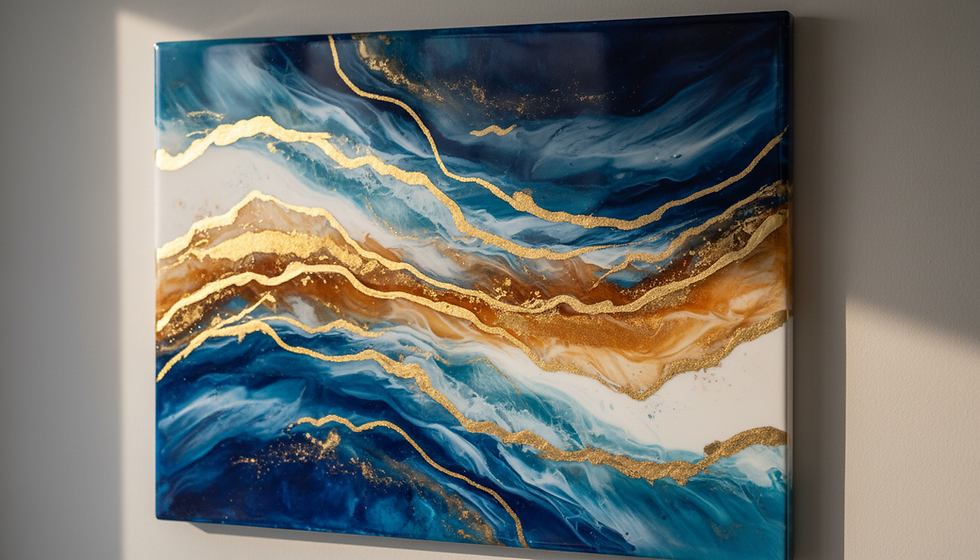
This is where creativity shines. I add pigments, glitters, or mica powders to the resin. Then, I carefully place crystals, tiny stars, or other decorative elements. It’s like painting with light and texture.
Pouring and Curing
Pouring the resin into the mould is a delicate task. I pour slowly to avoid air pockets. Then, the piece needs to cure - usually 24 to 48 hours. During this time, it hardens and transforms into a solid work of art.
Finishing Touches
Once cured, I remove the piece from the mould and inspect it. Sometimes, I sand the edges for smoothness or add a glossy finish. Each piece is unique, and these final touches make it shine.
Tools and Tips for Beginners
If you’re thinking about trying your hand at crafting crystal moon art, here are some tips I’ve learned along the way:
Start Small: Begin with simple shapes and fewer elements. It helps you get comfortable with resin.
Work in a Dust-Free Area: Dust can ruin the finish, so keep your workspace clean.
Use Gloves and Masks: Resin can be tricky on the skin and fumes can irritate, so safety first.
Experiment with Colours: Don’t be afraid to mix pigments and try new combinations.
Be Patient: Rushing the curing process can cause imperfections.
Having the right tools makes a big difference too. Silicone moulds, mixing cups, stir sticks, and a heat gun or torch to remove bubbles are essentials in my kit.

Why Crystal Moon Handcrafted Art Feels So Special
There’s a reason why I’m so passionate about crystal moon handcrafted art. Each piece is more than just decoration. It’s a labour of love, a tiny universe captured in resin and crystal.
When you hold one, you can feel the care and creativity poured into it. The shimmer of the crystals, the smoothness of the resin, and the glow of the moon shape all come together to create something truly unique. These pieces make perfect personalised gifts because they carry meaning and beauty.
I love how these creations can brighten a room or become a cherished keepsake. They remind us to slow down, appreciate the little things, and connect with the magic of the night sky.
Bringing Your Own Vision to Life
One of the best parts of crafting crystal moon art is the chance to personalise. Whether you want to create a gift for someone special or a piece that reflects your own style, the possibilities are endless.
Think about the colours that speak to you. Maybe soft blues and silvers for a calming effect, or vibrant purples and golds for something bold. You can even embed tiny charms or initials to make it truly yours.
If you’re gifting, consider the recipient’s personality and favourite things. A crystal moon piece can be a symbol of friendship, love, or inspiration. It’s a thoughtful way to show you care.
Final Thoughts on Crafting Crystal Moon Art
Crafting crystal moon art is a beautiful blend of creativity, skill, and heart. It’s a journey that invites you to explore your artistic side and create something meaningful. Whether you’re a seasoned artist or a curious beginner, there’s joy in every step.
I hope this glimpse into the art of crafting crystal moon pieces inspires you to try it yourself or appreciate the magic behind these handcrafted treasures. Remember, every piece is a little moonlit story waiting to be told.
So, why not start your own crystal moon adventure today? The night sky is full of possibilities.

Comments